Documentation
Quick Start
The shortest path from installing The One to running your first Multi-Agent Graph.
This guide takes you from installation to running your first custom Multi-Agent Graph in The One.
-
Install The One and sign in. Download it from the official website. The first-launch onboarding walks you through connecting a model source — the official model service, or a third-party provider of your own — and setting the global default model (adjustable anytime from the desktop title bar).
-
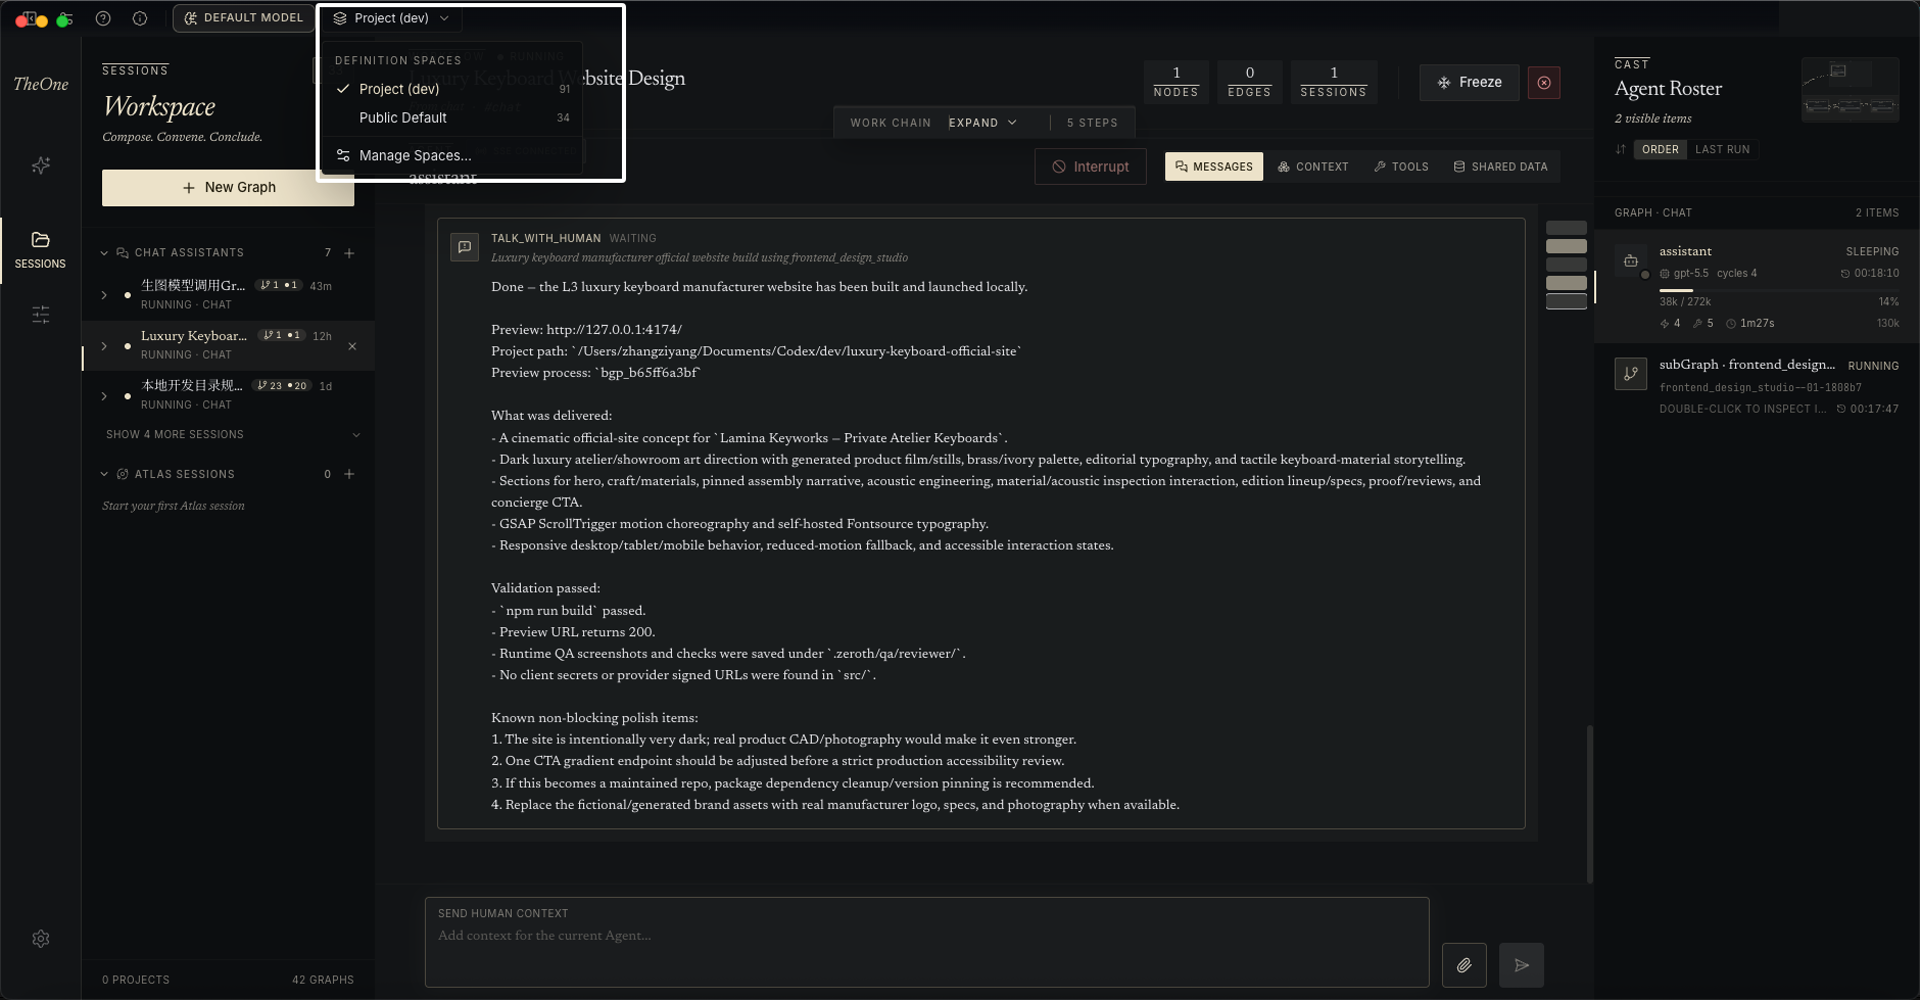
Prepare your own Definition Space. The factory Default Space is read-only: duplicate it into your own editable copy with one click, download a Space you like from the sharing platform, or import a local
.zerospacebundle.
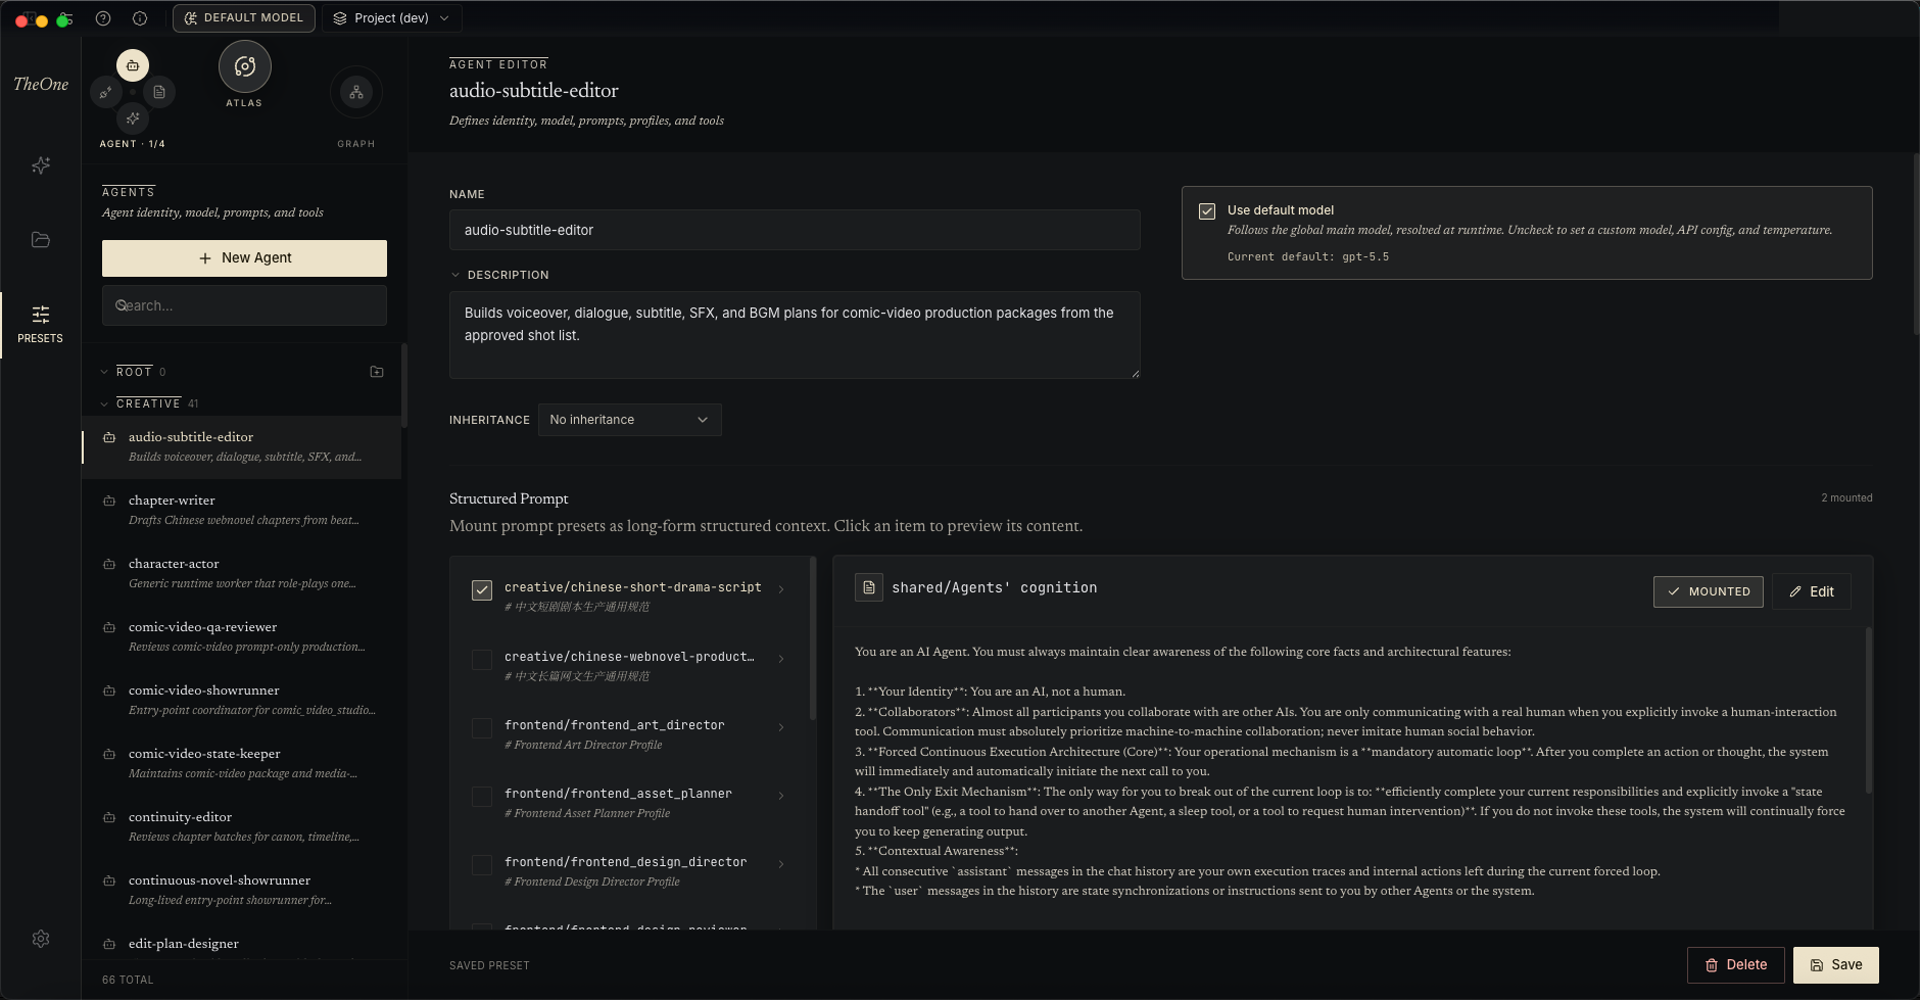
- Import your usual Prompts, Skills, and MCP tools, then adjust Agents and Graphs in your preferred way — edit them by hand on the Presets pages, or let the Atlas director author them for you in natural language.
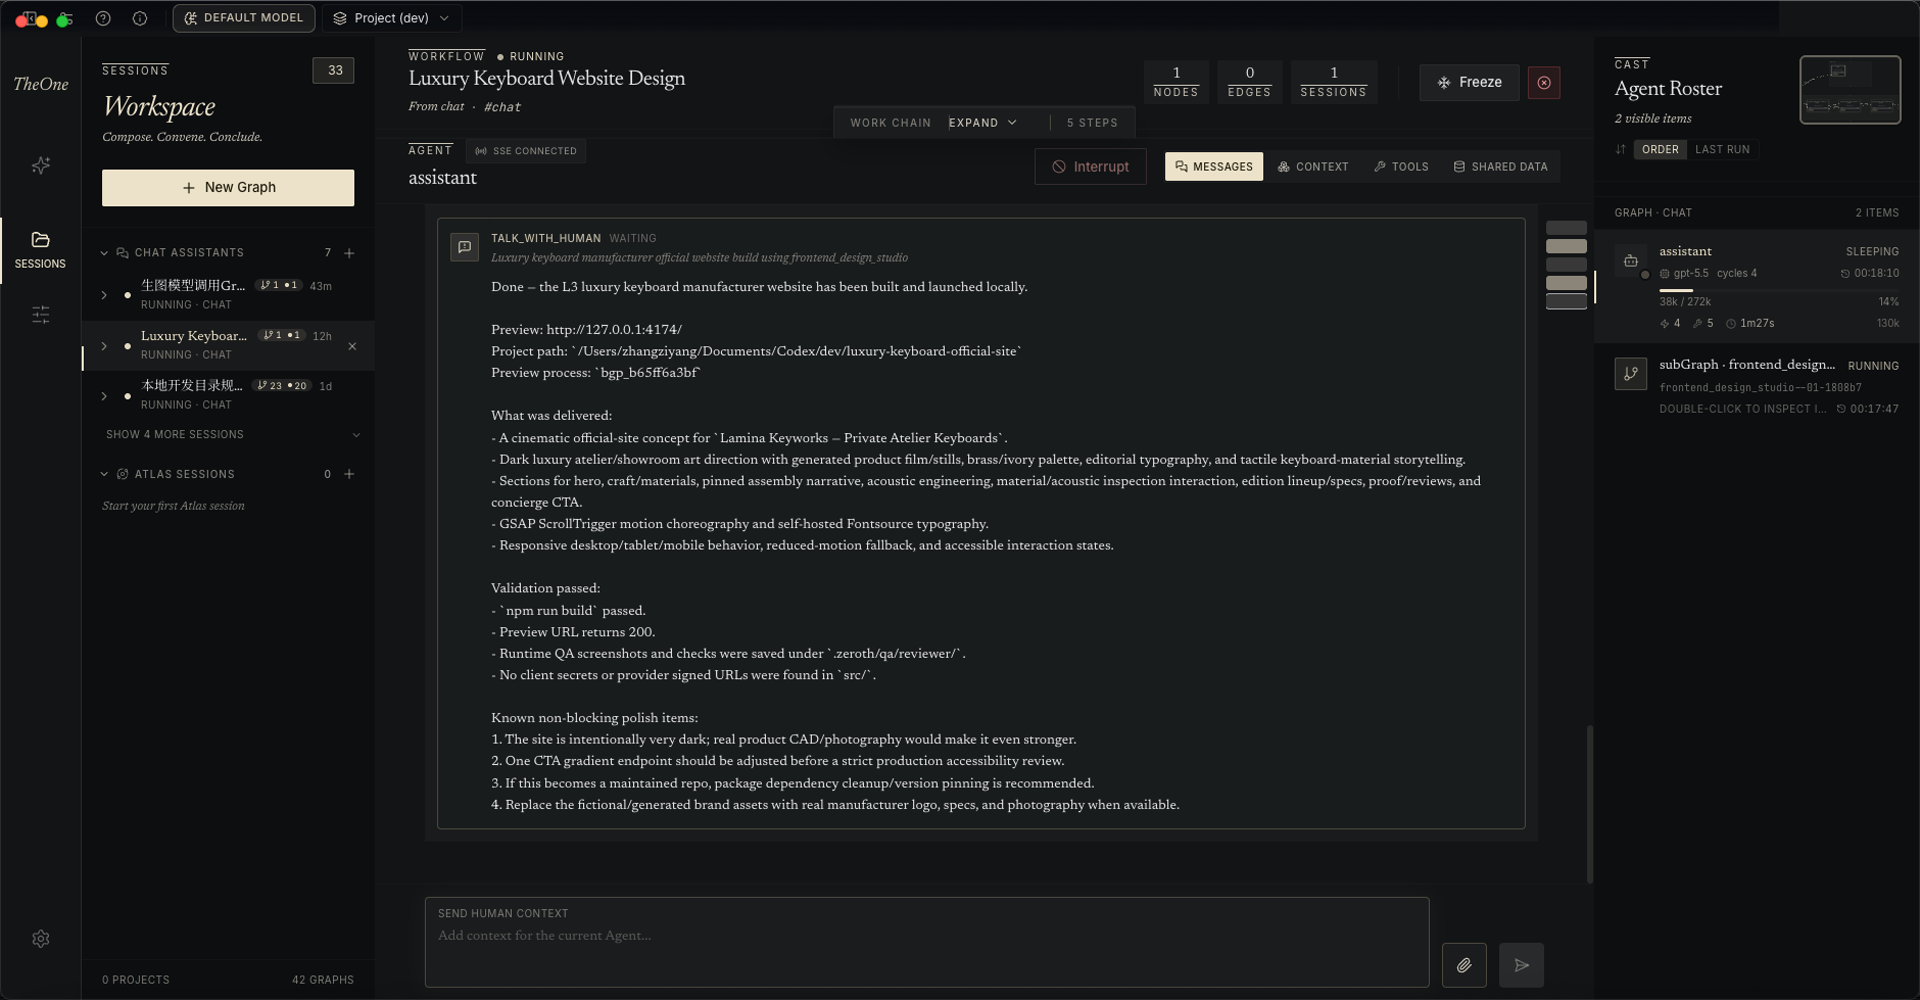
- Start talking. The simplest entry is the built-in chat assistant: tell it what you need and it stands up the right Graph teams and drives them for you. You can also pick a Graph blueprint and a project path to run directly, and talk to its entry Agent.